Grooving a laminitic hoof
Please Note:
Grooving should only be implemented by a farrier with the appropriate qualification and experience and only when instructed by veterinary surgeon.
Long term chronic laminitic cases may appear to be good candidates for the grooving procedure but a great deal of care must be taken in selecting a particular laminitic animal for grooving.
Additional caution should be taken before grooving is undertaken if there is any indication that any of the following were present prior to the onset of laminitis:
- Upright conformation
- Flexor tendon involvement (flexural deformity)
- Previous excessive heel lowering
These are all indications that this case of laminitis may have been caused mechanically and the dorsal wall may be overloaded. Grooving would then concentrate all the horses' weight onto the dorsal wall, with the grooves preventing the heel laminae carrying any transferred weight from the dorsal wall. Under these circumstances lameness will be intensified by the grooving procedure and it is therefore contraindicated.
Please refer to:- Unilateral Laminitis and remember these long-term cases do not respond well to conventional laminitis therapies and will therefore seem likely candidates for the grooving procedure due to the long-standing nature of their condition.
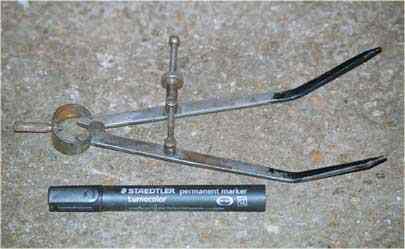
Suggested Tools

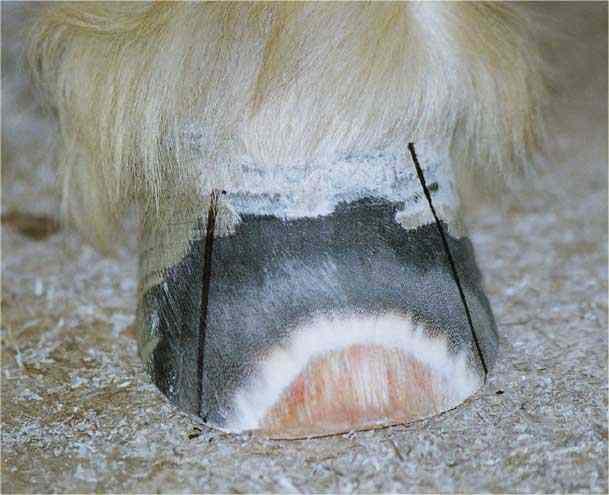
Groove positioning
The grooves are positioned medial and lateral to the dorsal hoof surface, approximately midway between the toe and heel regions of the hoof, staring 1cm distal to the coronary band and extending to the ground surface (Groove positioning - x-x). The grooves were cut either in alignment with the horn fibres (Groove positioning - B) or directly downwards (Groove positioning - A). The groove penetrated into the hoof until the non-pigmented epidermal laminae became visible but not deep enough to cause bleeding, although bleeding may sometimes happen. As there is a small risk of making the foot bleed during the insertion of the grooves, it is advisable to tell the owner that this may happen before commencing.
The exact positioning of the grooves depends on how the feet are to be shod afterwards, as it is preferable that the shoe is not nailed on each side of the groove, this effectively reduces the efficiency of the groove. Heart bar shoes require nail positioning towards the widest part of the hoof, therefore the grooves may be placed further forward. The usual position for grooving is shown below.
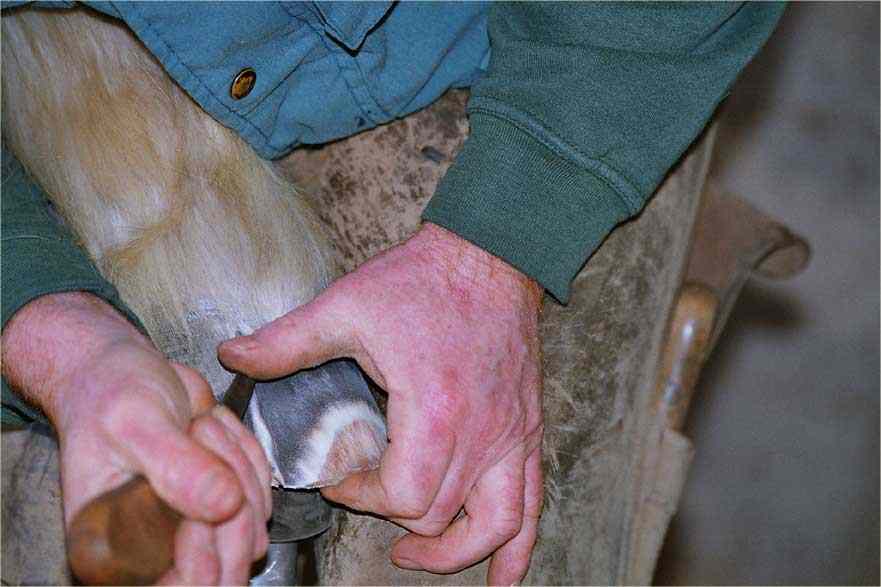
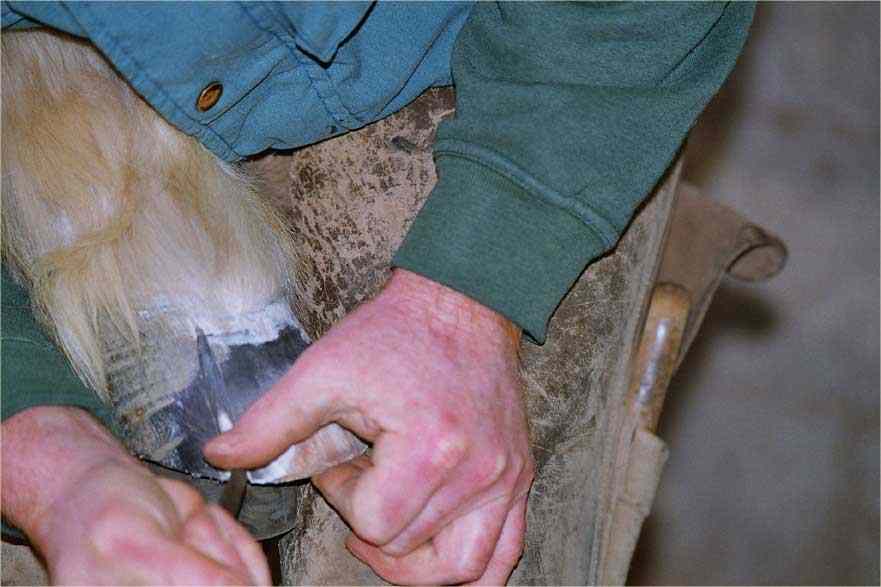
Keeping ones fingers well out of the way of the very sharp farriers knife, cut downwards, it is helpful to use your thumb to help push the knife.
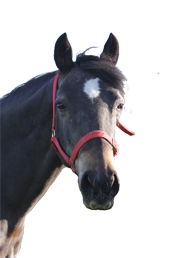
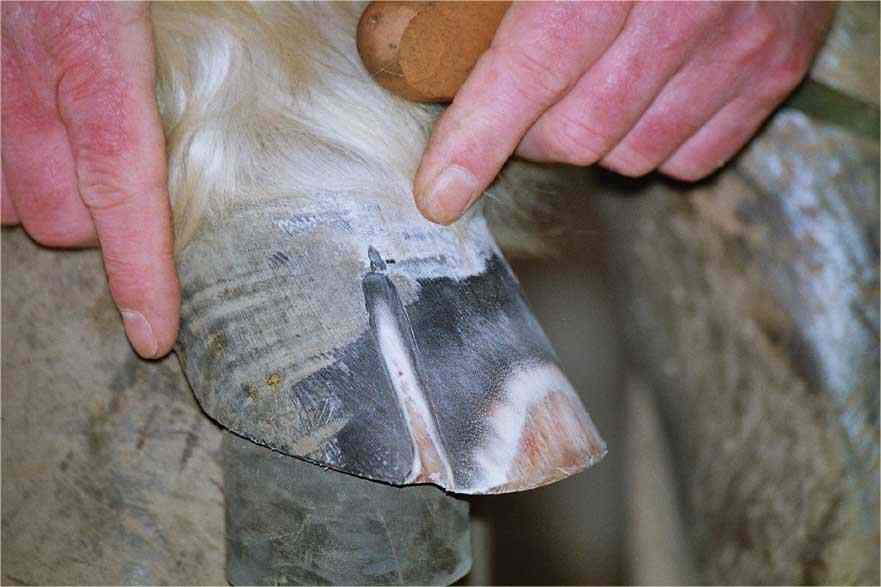
Below is the finished groove. This groove could have started slightly higher but will function enough to relieve pain. The groove penetrates deep enough to expose the underlying laminar wedge. The pictured horse had all four feet grooved on 8th February 2006. The owner reported to her vet that lameness was reduced within days of being grooved.
Updated: 09/06/2013